The Honeywell RTH6580WF is a Wi-Fi-enabled, 7-day programmable thermostat designed for easy installation and energy efficiency. It offers remote access, compatibility with various HVAC systems, and user-friendly scheduling options.
1.1 Overview of the RTH6580WF Model
The Honeywell RTH6580WF is a Wi-Fi-enabled, 7-day programmable thermostat designed for smart home integration. It features a sleek design, intuitive touchscreen interface, and compatibility with various HVAC systems, including gas, oil, electric, and heat pumps. The model supports remote access via Honeywell’s app, allowing users to control temperatures, schedule settings, and monitor energy usage from anywhere. Its preprogrammed settings and easy installation make it a convenient choice for homeowners seeking energy efficiency and comfort.
1.2 Key Features and Benefits
The Honeywell RTH6580WF offers advanced features like Wi-Fi connectivity, remote access through Honeywell’s app, and 7-day programmable scheduling. It is compatible with most 24-volt HVAC systems, including heat pumps and oil systems. The thermostat’s energy-saving modes and smart alerts help optimize heating and cooling usage. Its large touchscreen display provides easy navigation, and the system is preprogrammed for quick setup. These features ensure enhanced comfort, energy efficiency, and convenience for users, making it a reliable choice for smart home automation.

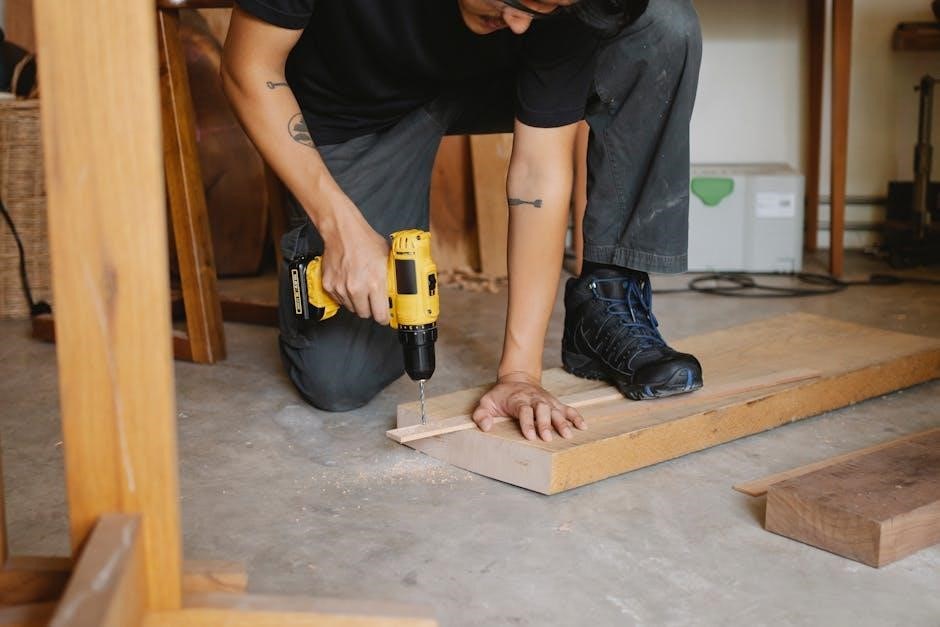
Preparing for Installation
Before installing the Honeywell RTH6580WF, ensure you have the necessary tools and understand your HVAC system’s compatibility. Gather a screwdriver, wire stripper, and voltage tester.
2.1 Tools and Materials Needed
To install the Honeywell RTH6580WF thermostat, you will need a few essential tools. These include a screwdriver, wire stripper, and voltage tester to ensure safe handling of wires. Additionally, a drill may be required for mounting the thermostat. If your system lacks a C-wire, consider using a C-wire adapter to power the thermostat. Always refer to the manual for specific requirements and compatibility checks to ensure a smooth installation process.
- Screwdriver for removing the old thermostat and mounting the new one.
- Wire stripper to prepare the wires for connection.
- Voltage tester to verify power is off before starting work.
- Drill for making holes if additional mounting is needed.
- C-wire adapter (if required for your HVAC system).
Ensure all tools are readily available to avoid delays during the installation process.
2.2 Understanding Your HVAC System Compatibility
The Honeywell RTH6580WF thermostat is compatible with most 24-volt HVAC systems, including forced air, hydronic, heat pumps, oil, gas, and electric systems. However, it does not support millivolt systems. Before installation, verify your system type and ensure it matches the thermostat’s specifications. If your system uses a heat pump, check the manual for specific configuration instructions. Additionally, if your system has both R and RC wires, you may need to remove the metal jumper for proper functionality. Always confirm compatibility to ensure smooth operation and avoid potential issues.
HVAC System Types Supported: Forced air, hydronic, heat pump, oil, gas, and electric systems (24-volt only).
Not Compatible With: Millivolt systems.
Step-by-Step Installation Guide
Turn off power, remove the old thermostat, and carefully handle wiring. Mount the new thermostat, connect wires, and restore power. Finally, connect to Wi-Fi for setup.
3.1 Removing the Old Thermostat
Switch off the HVAC system’s power at the circuit breaker. Remove the thermostat faceplate by unscrewing it. Gently pull out the wires from the old terminals. Carefully detach the old thermostat from the wall, ensuring no wires are damaged. Set aside the old unit and prepare the area for the new installation. Follow safety precautions to avoid electrical hazards.
3.2 Wiring Requirements and Diagrams
Identify the wires from your old thermostat, noting their colors and terminals. Refer to the wiring diagram in the manual for proper connections. Ensure the R and RC wires are correctly configured. A C wire is required for continuous power; if missing, use a compatible adapter. Verify system compatibility, as the RTH6580WF works with 24V systems, including heat pumps. Match each wire to the corresponding terminal on the new thermostat, following the diagram carefully to avoid errors. Proper wiring ensures safe and efficient operation.
3.3 Mounting the New Thermostat
After disconnecting the old thermostat, clean the wall area and remove any residue. Use the provided mounting hardware to secure the new thermostat base to the wall, ensuring it is level. Align the base with the wiring terminals and screw it firmly into place. Gently attach the thermostat interface to the base, making sure it clicks securely. Double-check that the device is straight and properly mounted before proceeding to connect the wires or power it on.
Connecting to Wi-Fi and Remote Access
Connect your Honeywell RTH6580WF thermostat to your home Wi-Fi network by selecting it from the available networks and entering your password. Once connected, register the device for remote access through the Honeywell Home app. This allows you to control the thermostat, adjust settings, and schedule temperatures from your smartphone or tablet, ensuring convenience and energy efficiency.
4.1 Setting Up Wi-Fi Network Connection
To set up the Wi-Fi network connection for your Honeywell RTH6580WF thermostat, start by powering on the device. Navigate to the Wi-Fi settings menu on the thermostat’s interface. Select your home Wi-Fi network from the available list and enter your password using the touchscreen or keypad. Once connected, a confirmation message will appear. Ensure your router is functioning properly and within range for a stable connection. If issues arise, restart both the thermostat and router, then retry the connection process. A successful connection enables remote access and smart features.
4.2 Registering for Remote Access
To register for remote access, visit the Honeywell Home website or download the Honeywell Home app. Create an account by providing your email and a password. Once your thermostat is connected to Wi-Fi, link it to your account through the app or website. Follow the on-screen instructions to complete the registration process. This allows you to control your thermostat, view settings, and receive alerts remotely via your smartphone or computer. Ensure your device is connected to the internet for seamless remote functionality.
Configuring and Programming the Thermostat
Configure your Honeywell RTH6580WF by setting temperature preferences, scheduling, and smart features. Program energy-saving settings and customize system operations to optimize comfort and efficiency effortlessly.
5.1 Initial Setup and Configuration
After installation, the Honeywell RTH6580WF is preprogrammed and ready for initial setup. Navigate through the menu to configure basic settings like temperature preferences, system type, and scheduling. Set your HVAC system type, such as gas, oil, or heat pump, to ensure proper operation. Review and adjust default settings, including heating and cooling thresholds, to match your comfort needs. For heat pump systems, ensure labels match or refer to the user guide for adjustments. This step ensures seamless functionality and optimal performance of your thermostat.
5.2 Scheduling and Programming Options
The Honeywell RTH6580WF offers flexible 7-day programming, allowing you to customize temperature settings for each day. Set up to four periods daily—wake, leave, return, and sleep—to align with your schedule. Geofencing and smart alerts can be enabled for enhanced energy savings. Use the Honeywell Home app to program or adjust schedules remotely. This feature ensures consistent comfort while optimizing energy usage, adapting seamlessly to your lifestyle and preferences.

Troubleshooting Common Issues
Identify and resolve common problems like connectivity issues or system incompatibility to ensure optimal performance of your Honeywell RTH6580WF thermostat.
6.1 Resolving Connectivity Problems
Ensure your Honeywell RTH6580WF is connected to your home Wi-Fi network. Restart your router and thermostat, and verify the password. Check for firmware updates and device compatibility. If issues persist, consult the user manual or contact customer support for further assistance.
6.2 Addressing System Incompatibility
Ensure your HVAC system is compatible with the Honeywell RTH6580WF. Verify if it supports 24-volt systems, excluding millivolt systems. Check for proper wire connections and labels. For heat pumps, remove the metal jumper if both R and RC wires are present. Refer to the user guide for specific configurations. If issues persist, consult a professional or contact Honeywell support for further assistance.
Energy Efficiency and Maintenance Tips
Optimize energy settings and maintain your Honeywell RTH6580WF thermostat by cleaning it regularly, updating software, and ensuring proper Wi-Fi connectivity for consistent performance and efficiency.
7.1 Optimizing Energy Settings
Optimize your Honeywell RTH6580WF thermostat’s energy settings by adjusting temperature ranges, enabling geofencing, and using smart recovery features. Program schedules to match your daily routine, reducing energy use when unoccupied. Utilize the energy-saving mode to balance comfort and efficiency. Regularly review and update your settings to reflect seasonal changes or lifestyle adjustments. Ensure proper system compatibility to maximize efficiency, and consider enabling remote notifications for real-time energy usage insights. These strategies help minimize energy waste and lower utility bills while maintaining optimal comfort levels.
7.2 Regular Maintenance and Updates
Regular maintenance ensures the Honeywell RTH6580WF thermostat performs optimally. Clean the touchscreen gently with a soft cloth to avoid dirt buildup. Check for software updates via the app or website and install them promptly to access new features and security patches. Inspect wiring connections annually to prevent loose or corroded wires, which can disrupt functionality. Follow the manufacturer’s maintenance schedule for optimal performance. Recalibrate the thermostat if temperature inaccuracies occur. Proper upkeep extends the device’s lifespan and ensures consistent HVAC system operation.